What the Proper Tattoo Healing Process Actually Looks Like (And How Long It Takes)
The proper tattoo healing process has two distinct timelines most people don’t know about — and mixing them up is one of the most common reasons fresh tattoos get damaged.
Here’s a quick overview:
| Phase | Timeline | What’s Happening |
|---|---|---|
| Surface healing | 2-4 weeks | Skin closes, scabs fall off, flaking stops |
| Full dermal healing | 3-6 months | Deeper skin layers rebuild, ink fully settles |
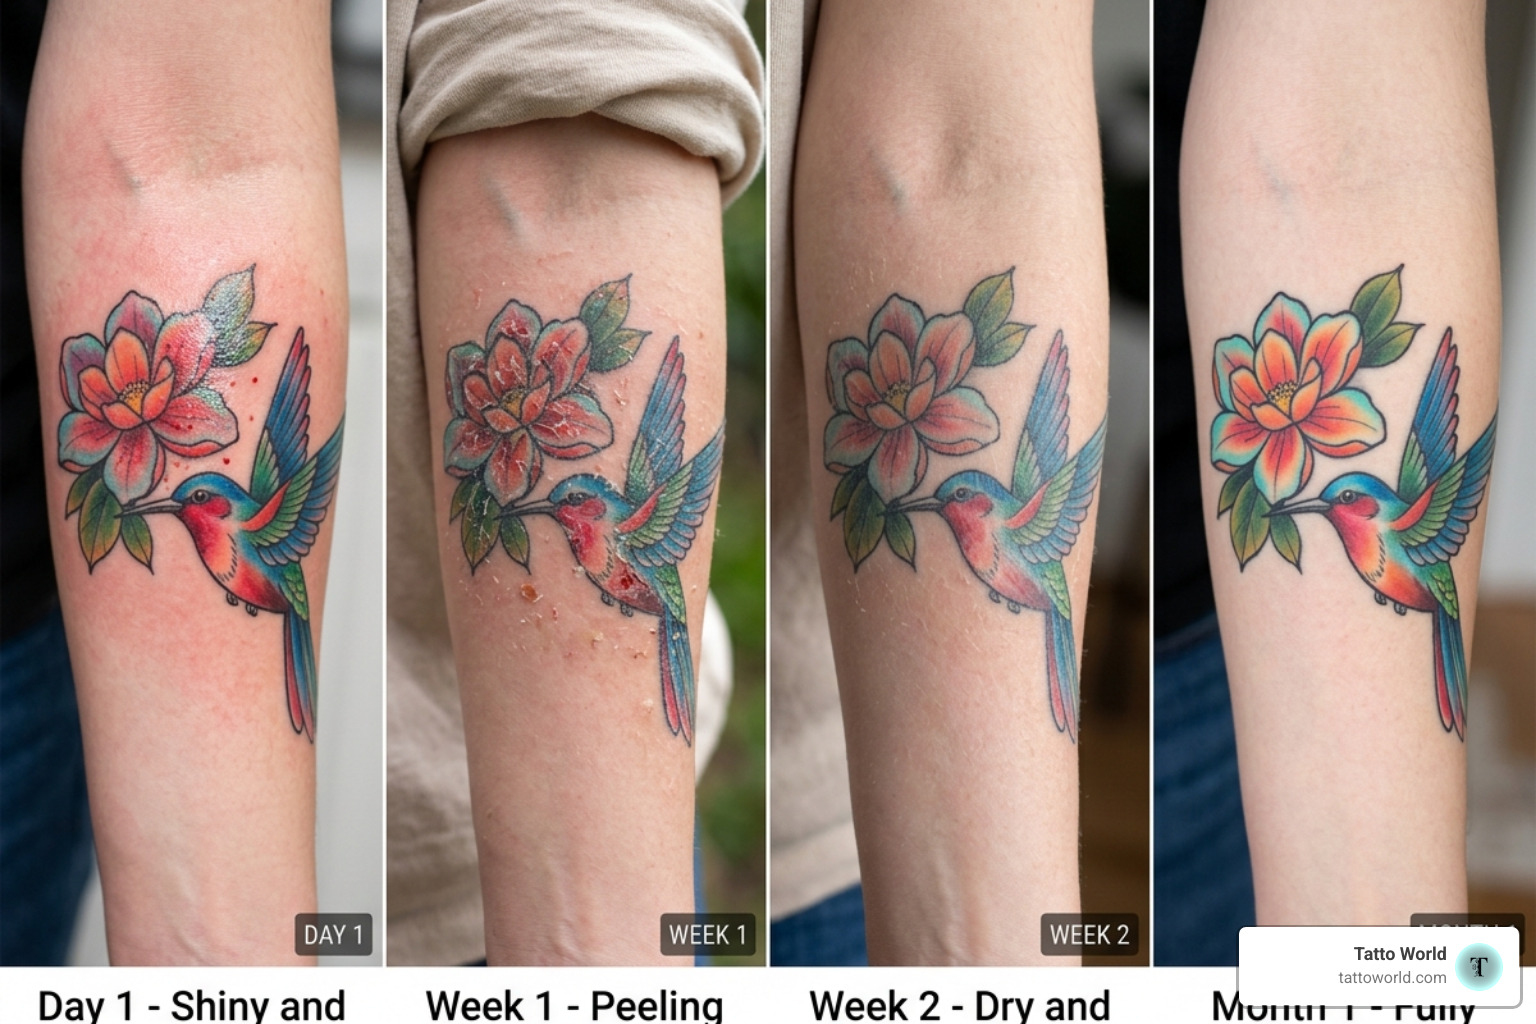
| Stage 1: Inflammation | Days 1-6 | Redness, oozing, swelling |
| Stage 2: Itching | Days 7-14 | Flaking, nerve sensitivity |
| Stage 3: Peeling | Weeks 2-4 | Dead skin shedding, scab formation |
| Stage 4: Remodeling | Months 2-6 | Collagen rebuilding, ink clarifying |
Your tattoo might look healed within a few days. The color looks sharp, the redness fades, and it stops oozing. But underneath the surface, your skin is still actively rebuilding — and that process can take up to 6 months to complete.
That gap between “looks healed” and “actually healed” is exactly where most people go wrong. They stop their aftercare routine too early, jump back into the pool, or skip sunscreen — and then wonder why their tattoo looks faded or patchy a few months later.
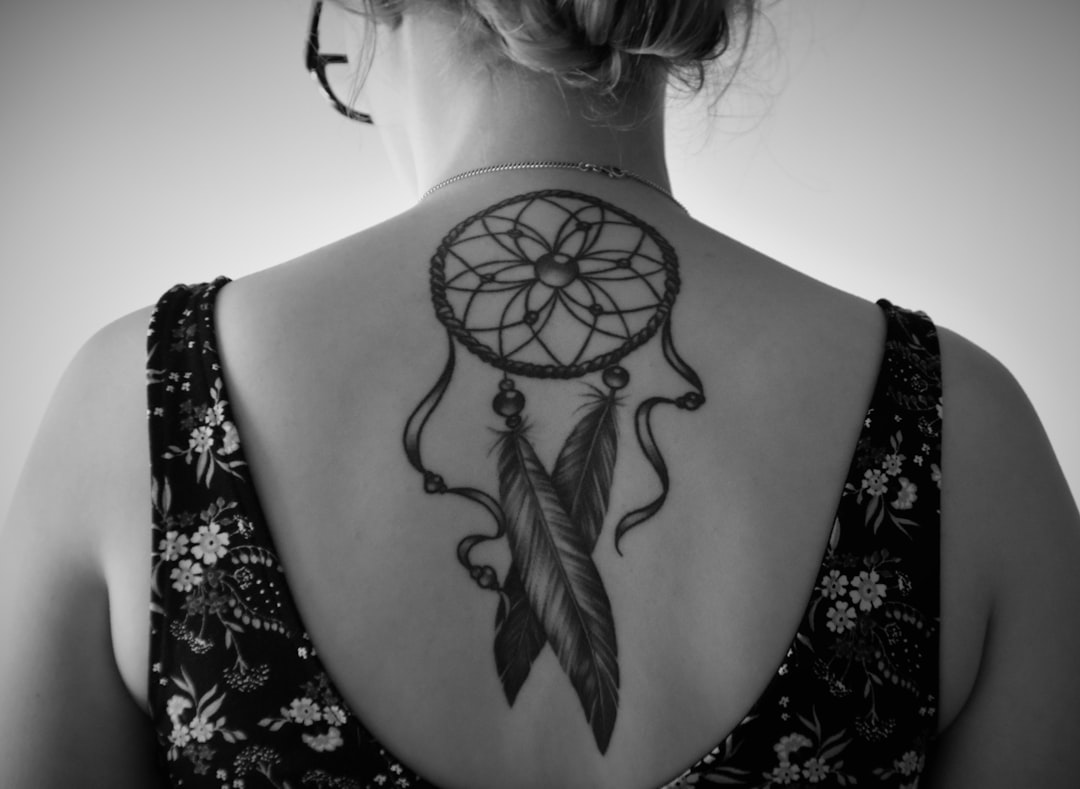
Think of a fresh tattoo for what it literally is: an open wound. The moment the needle breaks your skin, your immune system kicks in. White blood cells rush to the site, plasma and excess ink seep out, and your body begins the same repair process it uses for any injury. The difference is that this wound has ink sitting in the deeper layers of your skin — and how well that ink stays there depends almost entirely on what you do in the weeks that follow.
I’m Faisal S. Chughtai, founder of Tatto World, where I’ve spent years researching and writing about the proper tattoo healing process to help beginners avoid the mistakes that lead to infections, patchy ink, and regret. In this guide, I’ll walk you through every stage of recovery — from the first raw hours to the final months of deep skin healing — so you know exactly what’s normal, what’s not, and what to do at every step.

The 4 Stages of the Proper Tattoo Healing Process
Understanding the proper tattoo healing process is like having a roadmap for a long journey; it keeps you from panicking when things look a little “weird” along the way. Your skin is your body’s largest organ, and it is incredibly adept at repairing itself. However, because a tattoo involves injecting ink through the epidermis and into the upper dermis, your body treats those ink particles as foreign invaders.
As we navigate through these four distinct visual and biological phases, everyone’s body is unique. Factors like the size of the piece, the location on your body, and even your personal immune health in April 2026 will influence your specific speed of recovery. To get a high-level view of these transitions, check out this guide on Tattoo Healing Stages: What to Expect & Aftercare Tips.

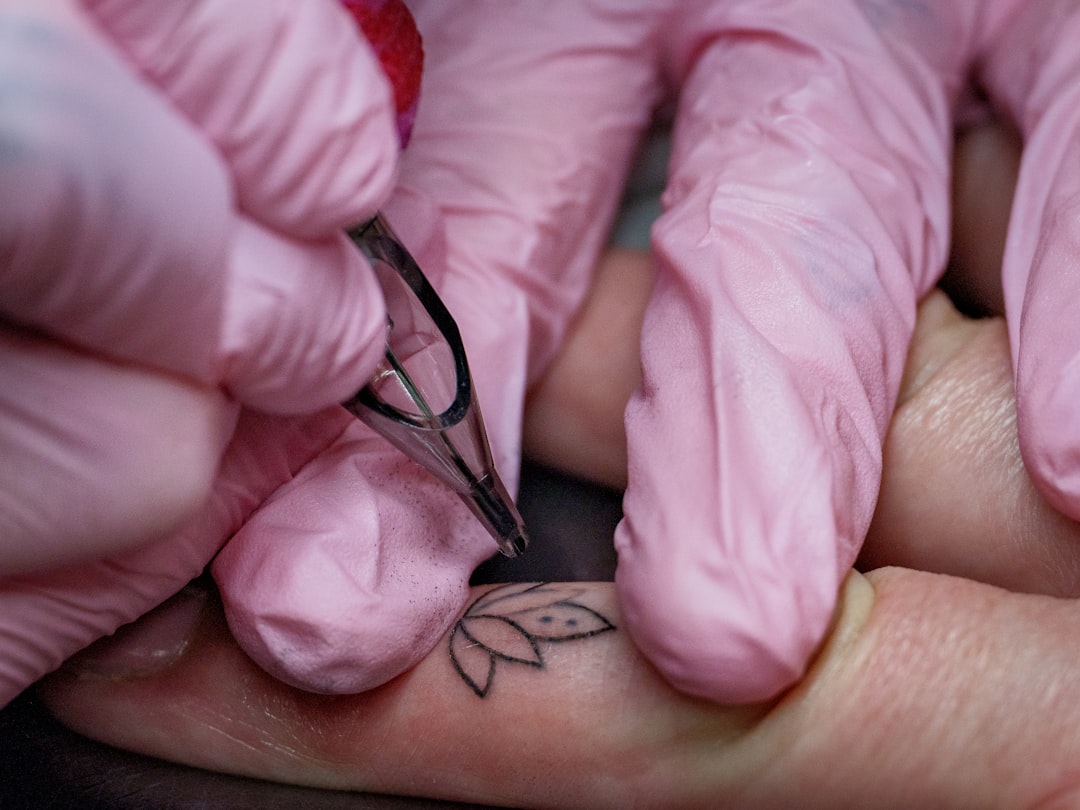
Stage 1: Inflammation and Oozing (Days 1-6)
The moment you step out of the studio, you are in Stage 1. This is the “open wound” phase. Your body reacts to the thousands of needle pricks by sending a literal army of white blood cells and macrophages to the site. Their job? To swallow up foreign particles and repair the tissue.
During the first 24 to 48 hours, it is completely normal to see “weeping.” This is a mixture of plasma, blood, and excess ink. If you are using a traditional bandage, you might notice your clothes sticking to the area. If you are using a “second skin” adhesive bandage, you might see a dark, blurry “ink bubble” forming under the plastic. Don’t worry—your tattoo isn’t melting! This is just the fluid your body naturally produces to jumpstart healing.
Common symptoms in this stage include:
- Redness and Swelling: The area will feel warm and look angry.
- Soreness: It will feel like a localized, nasty sunburn.
- Oozing: This typically peaks in the first 3 days.
For a deep dive into managing these first critical hours, see our guide on How To Heal Your New Tattoo Like A Pro.
Stage 2: The Itching and Flaking Phase (Days 7-14)
Welcome to the stage that tests your mental fortitude. As the inflammation subsides, your skin begins to regenerate. The old, damaged epidermis starts to dry out and flake off.
This is often called the “fruity pebbles” stage, especially if you have a color tattoo. You will see little flakes of colored skin falling off. Crucial rule: Do not pick them! Picking at these flakes can pull ink out of the dermis before it has settled, leading to “holidays” or gaps in your art.
The itching occurs because your nerves are firing as the skin knits back together. It can be maddening, but you must resist the urge to scratch. If the itch is driving you crazy, try light tapping or a cool compress over your clothes. For more on the “no-scratch” rule, read When Can You Scratch A Tattoo.
Stage 3: Peeling and Scabbing (Weeks 2-4)
By week three, the heavy flaking usually transitions into finer peeling. Your tattoo might look dull, cloudy, or even a bit “milky.” This is normal; it’s just a layer of new skin (often called “silver skin”) forming over the ink.
If you didn’t keep the area properly moisturized in the earlier stages, you might notice some heavier scabbing. While light scabbing is part of the proper tattoo healing process, thick, hard scabs that crack can be a sign of “dry healing” gone wrong. If you are worried about the texture of your skin, check out Why Is My Tattoo Cracking to see if you need to adjust your moisture balance.
Stage 4: Full Dermal Recovery (Month 2-6)
This is the “stealth” stage. On the surface, your tattoo looks finished. It’s smooth to the touch and the colors have brightened back up. However, the dermis (the deeper layer where the ink lives) is still busy. Fibroblasts are producing collagen to encapsulate the ink particles, making them a permanent part of your body.
Medically speaking, this remodeling phase can take up to 6 months. During this time, the ink is still settling and the skin’s protective barrier is still reaching full strength. This is why long-term aftercare is so vital. You can find more medical insights on this long-term window at Tattoo Healing Process: What to Expect.
Aftercare Essentials: Products and Methods
The products you put on your skin (and the ones you don’t) can make or break your final result. We always recommend using hypoallergenic, fragrance-free products to avoid irritating the fresh wound.
Choosing the Right Method for a Proper Tattoo Healing Process
There are generally two schools of thought when it comes to the initial wrap:
- Second Skin (Moist Healing): Using medical-grade adhesive films like Saniderm or Tegaderm. This method keeps the wound moist and protected from bacteria, often speeding up recovery by 3-5 times compared to dry healing. You typically leave the first piece on for 24 hours, and a second piece for up to 5-6 days.
- Traditional Bandaging: Your artist applies a pad or plastic wrap that you remove after 2-6 hours. From there, you follow a strict “wash and moisturize” routine.
Which is better? It depends on your skin’s sensitivity to adhesives and your lifestyle. If you’re wondering how long that wrap should stay on, we have the answers here: How Long Should I Keep My Tattoo Wrapped.
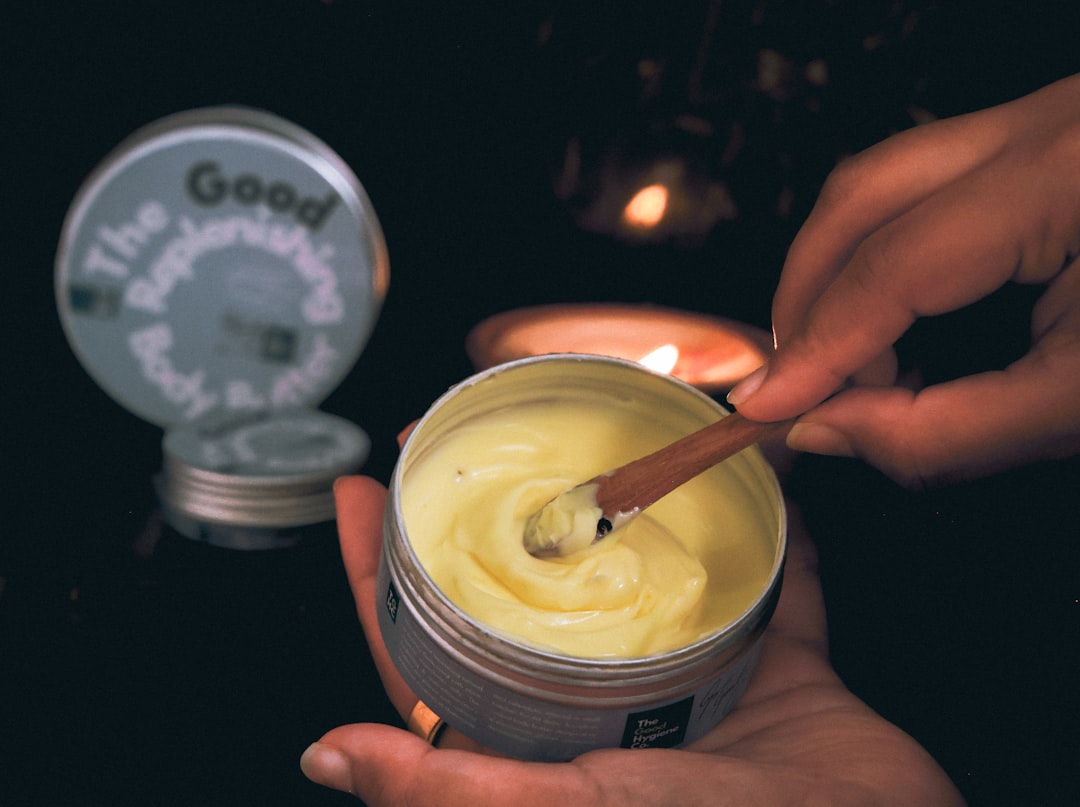
Safe Moisturizers and Ointments
In the first few days, you need a breathable barrier. Later, you need a hydrating lotion. Here is the Tatto World breakdown of what works:
- Water-based lotions: These are the gold standard for weeks 2-4. They hydrate without suffocating the skin. Is Cerave Lotion Good For Tattoos? Yes, it’s one of our top recommendations.
- Natural Butters: Many enthusiasts swear by plant-based options. You can read our takes on Is Shea Butter Good For Tattoos and Is Cocoa Butter Good For Tattoos.
- Cleansers: Always use a mild, liquid, fragrance-free soap. Avoid bar soaps, which can harbor bacteria. For a list of safe bets, see What Cleansers Are Safe For New Tattoos.
What to Avoid at All Costs
Sometimes, “old school” advice is actually harmful. Please avoid the following:
- Petroleum Jelly (Vaseline): It’s too thick. It traps heat and bacteria, which can lead to infections and ink leaching.
- Olive Oil: While great for salad, Is Olive Oil Good For Tattoos? Not really—it’s too heavy and can clog pores.
- Harsh Chemicals: You might think you’re being extra clean, but Is Bactine Good For Tattoos? Generally, no, unless specifically directed by an artist for pain, as it can be too harsh for daily healing.
- Sun and Water: No swimming and no direct sunlight for at least 3-4 weeks.
Troubleshooting Your Recovery: Normal vs. Infected
It is normal for a tattoo to look a little gross for the first few days. However, you need to know the difference between “healing gross” and “medically concerning gross.”
Identifying Allergic Reactions
Sometimes, your body doesn’t hate the process; it hates the ink. Red ink is the most common culprit for allergic reactions due to specific pigments. This can manifest as:
- Raised, itchy bumps only on specific colors.
- Hives that appear weeks or even months later.
- Cobalt sensitivity (often in blue inks).
If you’re seeing localized reactions, check out Tattoo Aftercare: The Complete Guide for Artists and Clients for more on ink sensitivities.
When to Contact a Doctor
If you experience any of the following, stop reading and call a healthcare professional:
- Spreading Redness: If the red area is expanding away from the tattoo.
- Red Streaks: A sign of lymphangitis (blood poisoning).
- Foul Odor or Green/Yellow Pus: Signs of a bacterial infection.
- Fever or Chills: This indicates the infection has become systemic.
While some people ask Can You Use Hibiclens On Tattoo to kill bacteria, it’s often too strong for a healing piece. Similarly, if you have swelling, you might wonder Can You Ice A Tattoo Or Not? You can, but only over a clean barrier and for short bursts.
Long-Term Maintenance and Sun Protection
Once you’ve survived the first month, you’re in the clear, right? Not quite. UV radiation is the number one enemy of tattoo longevity. UV rays break down the ink particles in your skin, causing them to blur and fade over time.
You should wait until the surface is fully healed (usually 3-4 weeks) before applying sunscreen. Before that, keep it covered with loose clothing. Once healed, an SPF 30+ is mandatory whenever you’re in the sun. For the specifics on timing, see Can You Put Sunscreen On A New Tattoo.
Beyond the sun, stay hydrated and keep your skin moisturized. Healthy skin holds ink better than dry, neglected skin.
Frequently Asked Questions about the Proper Tattoo Healing Process
How long does it typically take for a tattoo to fully heal?
While surface healing (the part where you stop peeling) takes 2-4 weeks, the biological timeline for full dermal healing is 3-6 months. During this time, your body is still rebuilding collagen and settling the ink into its permanent home.
Can I go swimming or use a hot tub during the healing process?
Absolutely not. You should wait at least 4 weeks before submerging your tattoo in any body of water. Pools, lakes, and hot tubs are breeding grounds for bacteria. Furthermore, soaking can soften scabs prematurely, causing ink to leach out and leaving you with a patchy tattoo. Stick to brief, lukewarm showers.
Why does my tattoo look dull or cloudy after three weeks?
This is perfectly normal! It’s called “silver skin.” As the old layers of skin flake off, the new epidermis underneath is very thin and slightly opaque. As your skin matures and the maturation phase completes, the “cloudiness” will disappear, and your tattoo will look sharp and vibrant again.
Conclusion
At Tatto World, we believe that a tattoo is a lifelong investment, and the proper tattoo healing process is the insurance policy for that investment. It requires patience, consistency, and a little bit of “not losing your mind” during the itchy phase.
By following these steps—keeping it clean, moisturizing appropriately, and protecting it from the sun—you ensure that your art stays as vibrant as the day it was finished. Your artist did 50% of the work in the shop; the other 50% is up to you at home.
Visit Tatto World for more expert guides to keep your ink looking legendary for years to come. Happy healing!